From blockbuster movies to professional YouTube content, green screen technology has revolutionized video production. Whether you’re watching superheroes soar through alien worlds or a weather forecaster pointing at storm patterns, chances are you’re seeing the magic of chroma key in action. This comprehensive guide will show you how to harness this powerful technique for your own productions.
📚 Quick Navigation
What is a Green Screen and Why Is It Used?
💡 Key Concept: Chroma Keying
Green screen production, technically known as chroma keying, is a visual effects technique that involves filming subjects in front of a solid-colored background (typically bright green). This allows editors to remove the background in post-production and replace it with any image, video, or digital environment.
The technique has become increasingly accessible, with many content creators using it to enhance their online video editing capabilities. While Hollywood productions might use massive green screen stages, you can achieve professional results in a home studio with the right setup and knowledge.
Why Green?
🎨 Color Science
Green is the color furthest from human skin tones
📸 Camera Sensitivity
Digital cameras are most sensitive to green light
👕 Practical Benefits
Bright green is rarely used in costumes or props
🎬 Post-Production
The color provides excellent contrast for digital keying
Note: While blue screens are sometimes used (especially for certain special effects shots), green has become the industry standard for most applications.
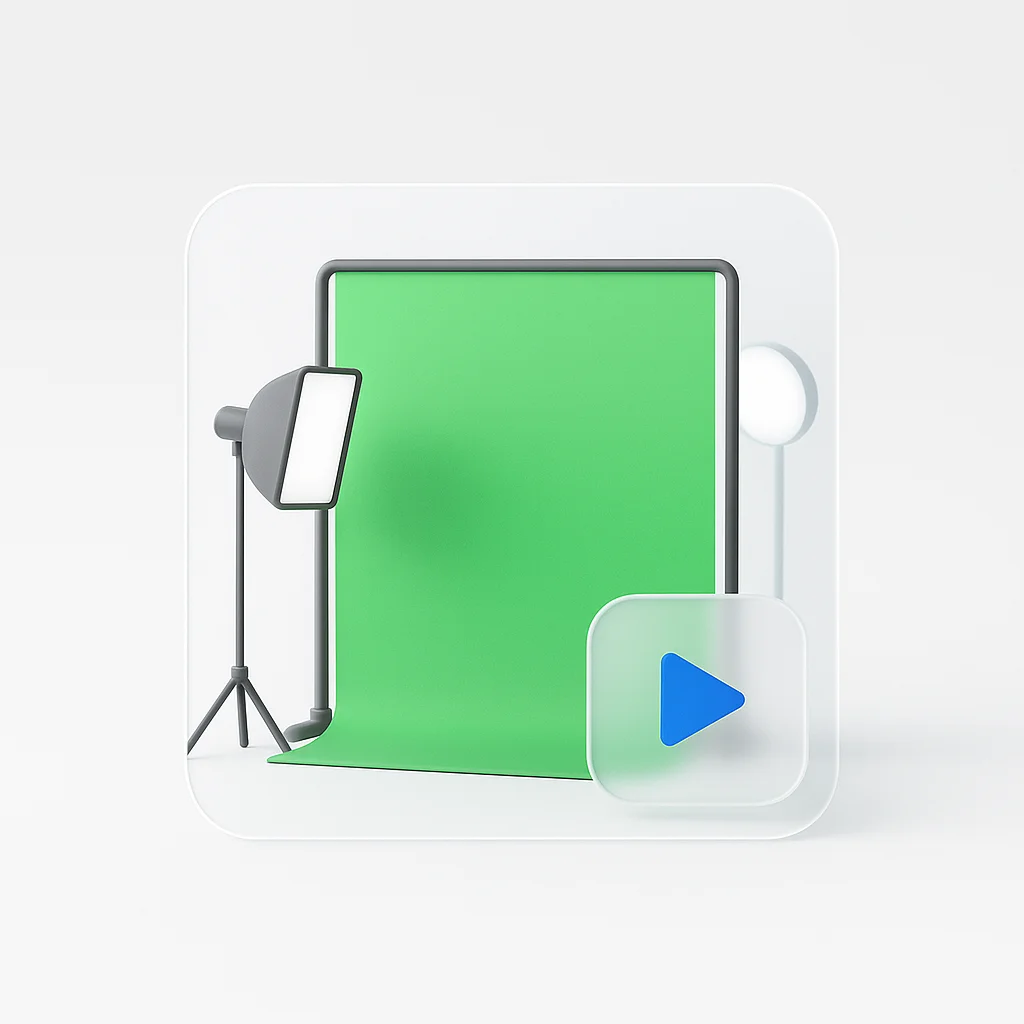
Setting Up Your Green Screen Studio
Creating a professional green screen setup doesn’t require a Hollywood budget. Here’s how to build an effective studio, even in a small space.
1. Choosing Your Green Screen Background
| Option | Pros | Cons | Best For |
|---|---|---|---|
| Fabric Screens | Affordable, portable | Wrinkles easily | Mobile setups |
| Collapsible Backgrounds | Easy storage, quick setup | Limited size | Small studios |
| Paint | Most even surface | Permanent solution | Dedicated studios |
| Pull-down Screens | Professional, space-saving | More expensive | Professional studios |
For optimal results, consider using our video presentation recorder to test different setups and find what works best for your space.
2. The Golden Rule: Even Lighting
Proper lighting is crucial for achieving a clean key. As highlighted in our best lighting solutions guide, you need:
Essential Lighting Setup ✓
- ✓ Separate lights for the subject and screen
- ✓ Soft, diffused lighting to minimize shadows
- ✓ Even illumination across the entire green surface
- ✓ Proper distance between subject and screen to prevent color spill
💡 Pro Tip
Use LED lights with diffusion panels for the most even lighting with minimal heat output. Position lights at 45-degree angles to eliminate shadows.
3. Camera Settings for Success
📸 Optimal Camera Settings
Consider using our MP4 recorder for high-quality capture.
4. Positioning Your Subject
📏 Subject Placement Guidelines
- Keep subjects at least 6 feet from the screen
- Ensure even front lighting on the subject
- Avoid wearing green or reflective materials
- Position to minimize shadows on the background
Filming Your Green Screen Video
When it comes to actually recording your green screen footage, attention to detail makes all the difference. Many creators pair our training video creator with green screen effects for professional-looking content.
What to Wear (and What to Avoid)
✅ DO Wear
- Solid, neutral colors
- Matte fabrics
- Contrasting colors
- Fitted clothing
❌ DON'T Wear
- Any shade of green
- Reflective materials
- Complex patterns
- Loose, flowing fabrics
Movement Guidelines
🎥 Movement Best Practices
- Keep movements smooth and controlled
- Avoid fast actions that create motion blur
- Stay within the marked performance area
- Consider how movements will interact with the final background
Common Green Screen Mistakes
1. Background Issues
Wrinkled or uneven background surface
2. Lighting Problems
Inconsistent or poor lighting setup
3. Color Spill
Green reflections on subject
4. Technical Errors
Incorrect camera settings
5. Distance Issues
Subject too close to screen
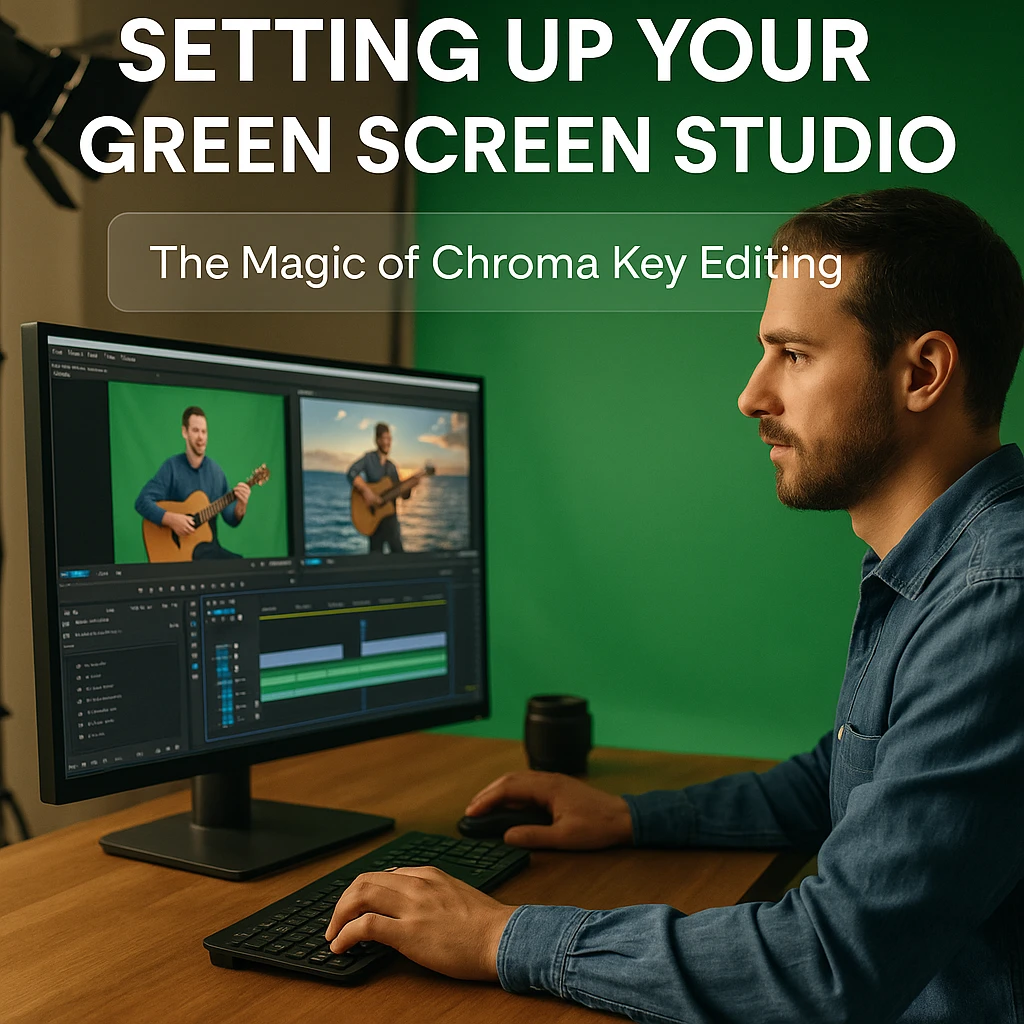
Post-Production: The Magic of Chroma Key Editing
The real magic happens in post-production. While professional studios might use high-end software, there are excellent options for every budget and skill level.
Choosing Your Editing Software
Adobe Premiere Pro
Best for: Professional production
Key Feature: Advanced keying tools
DaVinci Resolve
Best for: Professional (free)
Key Feature: Color grading
Final Cut Pro
Best for: Mac users
Key Feature: Performance
CapCut
Best for: Beginners
Key Feature: Ease of use
For quick edits, our video trimmer can help prepare your footage before applying effects.
Basic Editing Workflow
Import
Import your footage
Key
Apply chroma key effect
Adjust
Fine-tune settings
Background
Add new background
Refine
Fine-tune composite
Color
Color correction
Advanced Techniques
Edge Refinement
Clean up key edges for seamless integration
Spill Suppression
Remove green reflections from subject
Motion Tracking
Match background to camera movement
Color Grading
Match subject to background lighting
Creative Applications
Green screen technology opens up endless creative possibilities. Whether you’re creating professional training videos or enhancing your video conferencing background, here are some popular applications:
🎭 Virtual Sets
Create professional studio environments
💼 Video Calls
Professional meeting backgrounds
🎬 Special Effects
Creative video content
📚 Education
Interactive learning materials
🛍️ Products
Dynamic product showcases
Conclusion
Green screen production has evolved from a Hollywood specialty to an accessible tool for creators at any level. With the right setup, technique, and attention to detail, you can create professional-looking effects that enhance your video content.
🚀 Ready to Start?
Check out our [video editing tools](/features/video-editing-tools) to bring your creative vision to life. Remember, practice and patience are key - start with simple projects and gradually work your way up to more complex effects.
FAQ
Can I use a blue screen instead of a green screen?
Yes, blue screens can be effective, especially when filming subjects wearing green or when you need to capture fine details like blonde hair.
How do I get rid of wrinkles in my green screen fabric?
Use a steamer or iron on low heat, keeping the fabric taut with proper mounting. Some wrinkles can also be minimized with strategic lighting.
Why is my green screen key not working properly?
Common issues include uneven lighting, improper exposure, or color spill. Check your lighting setup and camera settings first.
What's the cheapest way to make a green screen?
You can start with green fabric or paint, but ensure it's the right shade of green and has a matte finish. Proper lighting is more important than expensive materials.
Can I use a green screen with my smartphone?
Yes! Many modern smartphones have built-in green screen features, or you can use apps designed for chroma keying. Just ensure you have good lighting and a stable mounting solution.