Nothing ruins a professional meeting like technical difficulties. Whether you’re joining an important client call or hosting a team meeting, testing your Zoom setup beforehand is essential for success. This comprehensive guide walks you through everything you need to test before your next Zoom meeting.
Why Test Your Zoom Setup?
Testing your Zoom configuration before meetings prevents:
- Embarrassing technical delays during important calls
- Poor audio quality that frustrates participants
- Video issues that affect professional appearance
- Connection problems that interrupt meetings
- Last-minute scrambling to fix technical issues
Professional Benefits:
- Builds confidence before important meetings
- Ensures reliable communication
- Maintains professional image
- Reduces meeting startup time
- Prevents disruption to other participants
Zoom Test Meeting: Built-in Testing Tools
Zoom provides several built-in tools to test your setup before joining any meeting.
How to Access Zoom Test Meeting
Method 1: Zoom Website Test
- Go to zoom.us/test in your browser
- Click Join to start the test meeting
- Test audio, video, and screen sharing
- No Zoom account required
Method 2: Through Zoom Desktop App
- Open Zoom desktop application
- Click Settings (gear icon)
- Navigate to Audio or Video tabs
- Use Test buttons for each component
Method 3: Pre-Meeting Test
- Join any scheduled meeting 5-10 minutes early
- Use waiting room time to test setup
- Adjust settings before host admits you
- Ask host for brief test if needed
What the Test Meeting Includes
Audio Testing:
- Microphone input levels
- Speaker output quality
- Echo and feedback detection
- Background noise assessment
Video Testing:
- Camera clarity and positioning
- Lighting conditions
- Background appearance
- Video quality settings
Connection Testing:
- Internet speed verification
- Network stability check
- Bandwidth adequacy assessment
- Latency measurement
How to Test Zoom Microphone
Your microphone is crucial for clear communication during meetings.
Step-by-Step Mic Testing
Desktop App Testing:
- Open Zoom and click Settings
- Select Audio from left sidebar
- Click Test Mic button
- Speak normally for 10-15 seconds
- Listen to playback to verify quality
Web Browser Testing:
- Visit zoom.us/test
- Allow microphone permissions
- Speak when prompted
- Listen to audio playback
- Adjust settings if needed
Microphone Optimization Tips
Check Microphone Selection:
- Ensure correct microphone is selected
- Test both built-in and external mics
- Choose the best quality option
- Consider using headset for better audio
Adjust Input Levels:
- Set microphone volume to 70-80%
- Avoid maxing out levels (causes distortion)
- Test with normal speaking voice
- Enable automatic gain control if available
Reduce Background Noise:
- Use Zoom’s noise suppression
- Choose quiet testing environment
- Position mic close to mouth (6-12 inches)
- Avoid fans, air conditioning, or traffic noise
Common Microphone Issues and Solutions
Problem: No Sound Detected
- Check physical microphone connection
- Verify microphone permissions in OS settings
- Restart Zoom application
- Try different microphone
Problem: Low Audio Quality
- Increase microphone gain
- Move closer to microphone
- Check for interference from other devices
- Update audio drivers
Problem: Echo or Feedback
- Use headphones instead of speakers
- Enable echo cancellation
- Reduce speaker volume
- Check room acoustics
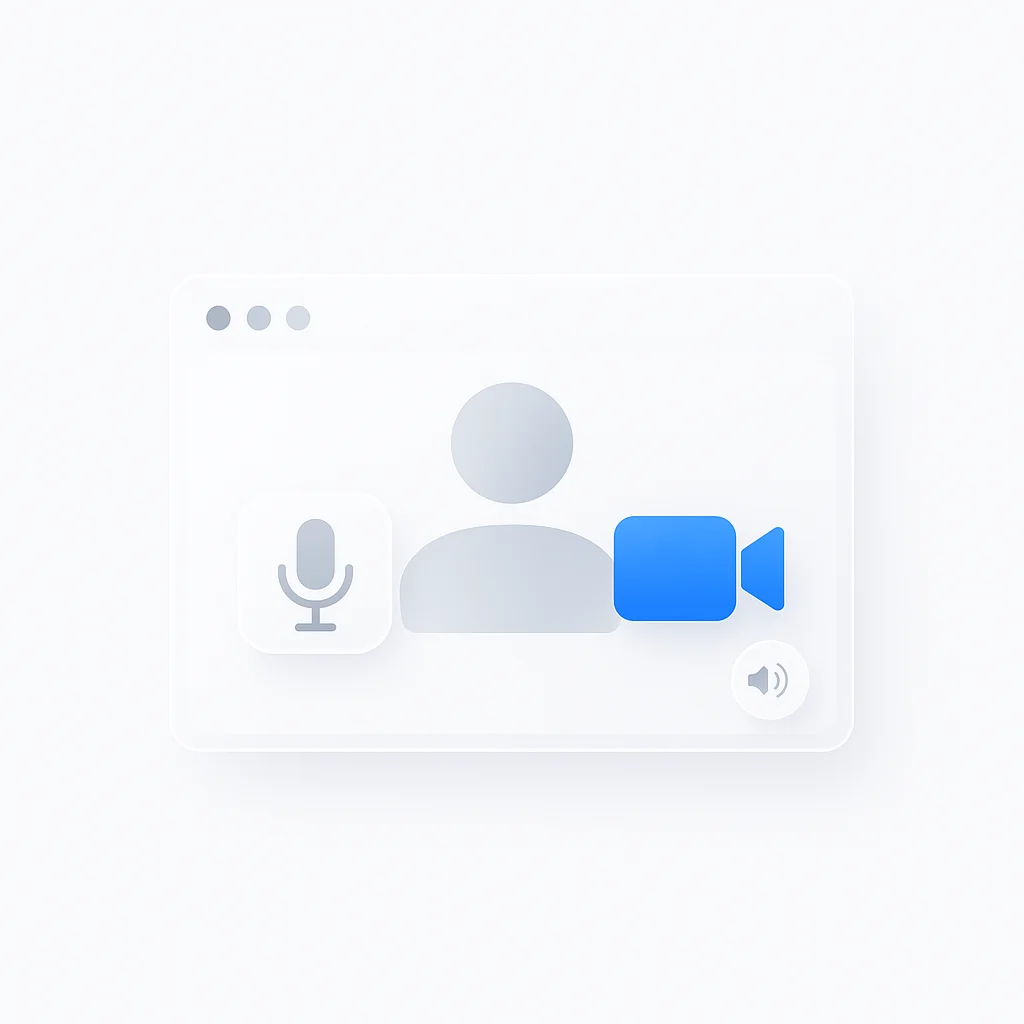
How to Test Zoom Camera and Video
Visual presentation is equally important for professional meetings.
Video Testing Process
Test Video Quality:
- Open Zoom Settings > Video
- Check camera preview window
- Click Test Video if available
- Verify image clarity and color
Camera Selection:
- Click dropdown next to camera preview
- Test all available cameras
- Choose best quality option
- Note any lag or delay issues
Video Optimization Settings
Camera Positioning:
- Position camera at eye level
- Maintain arm’s length distance
- Center yourself in frame
- Ensure stable camera mount
Lighting Optimization:
- Face a light source (window or lamp)
- Avoid backlighting
- Use even, soft lighting
- Adjust monitor brightness if needed
Background Considerations:
- Choose professional background
- Test virtual backgrounds if using
- Ensure background isn’t distracting
- Consider background blur option
Advanced Video Settings
Resolution and Quality:
- Set highest quality your bandwidth supports
- Enable HD video if connection allows
- Test different resolution settings
- Monitor bandwidth usage
Video Processing Options:
- Enable “Touch up my appearance” sparingly
- Adjust color and exposure if needed
- Test low-light performance
- Configure automatic low-light adjustment
How to Test Zoom Audio (Speakers)
Testing audio output ensures you’ll hear other participants clearly.
Speaker Testing Steps
Built-in Speaker Test:
- Zoom Settings > Audio
- Click Test Speaker
- Listen for clear test tone
- Adjust volume to comfortable level
Comprehensive Audio Test:
- Join test meeting at zoom.us/test
- Listen to sample audio playback
- Test at different volume levels
- Verify audio comes from correct speakers
Speaker Optimization
Volume Settings:
- Set system volume to 70-80%
- Adjust Zoom audio to comfortable level
- Test both quiet and loud audio
- Ensure no distortion at high volumes
Audio Device Selection:
- Choose best available speakers/headphones
- Test built-in vs. external speakers
- Consider using headphones for privacy
- Verify correct output device selected
Audio Quality Checks:
- Listen for crackling or static
- Test stereo vs. mono output
- Check for audio delay
- Verify balanced left/right audio
Complete Zoom Setup Testing Checklist
Use this comprehensive checklist before important meetings:
Pre-Meeting Technical Test (15 minutes before)
1. Internet Connection Test
- Run speed test (minimum 1.5 Mbps up/down)
- Check Wi-Fi signal strength
- Close bandwidth-heavy applications
- Test connection stability
2. Audio System Check
- Test microphone input and quality
- Verify speaker/headphone output
- Check for echo or feedback
- Test at various volume levels
3. Video System Check
- Test camera functionality
- Verify video quality and lighting
- Check camera positioning
- Test virtual background if using
4. Software and Settings
- Update Zoom to latest version
- Test screen sharing capability
- Verify meeting room access
- Check waiting room settings
5. Environment Setup
- Choose quiet, private location
- Optimize lighting conditions
- Prepare professional background
- Minimize potential interruptions
Quick Pre-Meeting Check (5 minutes before)
Essential Last-Minute Tests:
- Microphone working and clear
- Camera positioned correctly
- Audio output functioning
- Internet connection stable
- Meeting link accessible
Advanced Testing for Professional Users
Network Performance Testing
Bandwidth Requirements:
- Voice calls: 150 kbps up/down
- Video calls (high quality): 1.5 Mbps up/down
- Group video calls: 2.5 Mbps up/down
- Screen sharing: Additional 50-150 kbps
Connection Stability Test:
- Run multiple speed tests over 5 minutes
- Check for packet loss
- Verify consistent speeds
- Test during expected meeting time
Multi-Device Testing
Test Backup Devices:
- Prepare secondary internet connection
- Test mobile hotspot capability
- Have backup camera/microphone ready
- Test meeting access on phone/tablet
Device Compatibility:
- Test with laptop, desktop, mobile
- Verify feature availability across devices
- Check performance differences
- Prepare device switching plan
Professional Features Testing
Screen Sharing Test:
- Test sharing entire screen
- Test sharing specific applications
- Verify annotation capabilities
- Check remote control functionality
Recording Capabilities:
- Test local recording permissions
- Verify cloud recording access
- Check audio/video quality in recordings
- Test recording controls
Troubleshooting Common Test Issues
Audio Problems
Microphone Not Detected:
- Check OS audio permissions
- Restart Zoom application
- Update audio drivers
- Try different USB port (external mic)
Poor Audio Quality:
- Test different microphones
- Adjust input levels
- Check for background interference
- Use noise suppression features
Video Problems
Camera Not Working:
- Check OS camera permissions
- Close other applications using camera
- Restart device
- Update camera drivers
Poor Video Quality:
- Improve lighting conditions
- Reduce bandwidth usage
- Lower video resolution temporarily
- Check camera lens for obstructions
Connection Issues
Slow or Unstable Connection:
- Move closer to Wi-Fi router
- Close unnecessary applications
- Use ethernet connection if possible
- Contact ISP if problems persist
Mobile Device Testing
Testing Zoom on Smartphones/Tablets
Mobile-Specific Considerations:
- Battery life during extended meetings
- Data usage on cellular connections
- Touch screen interface testing
- Orientation and stability
Mobile Testing Steps:
- Download latest Zoom mobile app
- Test with both Wi-Fi and cellular
- Check camera switching (front/back)
- Verify audio routing options
- Test meeting controls accessibility
Best Practices for Regular Testing
Weekly Testing Routine
Maintain Optimal Performance:
- Test setup weekly for regular users
- Update software promptly
- Clean camera lens regularly
- Check for driver updates monthly
Pre-Important Meeting Protocol
High-Stakes Meeting Preparation:
- Test setup 24 hours before
- Have backup plans ready
- Inform participants of any known issues
- Consider professional testing with colleague
Conclusion
Regular testing of your Zoom setup is essential for professional success in today’s remote work environment. By following this comprehensive testing guide, you’ll ensure reliable, high-quality video conferencing every time.
Remember that technology can be unpredictable, so building testing into your pre-meeting routine helps you catch and resolve issues before they impact important conversations. Whether you’re using Zoom for daily standups or crucial business presentations, a few minutes of testing can save hours of frustration.
The key is consistency: make testing a habit, keep backup options ready, and stay updated with the latest Zoom features and improvements. Your colleagues and clients will appreciate the professional, seamless meeting experience you provide.
Pro Tip: Create a “Zoom Test” calendar reminder 15 minutes before important meetings. This ensures you never skip the testing phase and always join meetings with confidence.