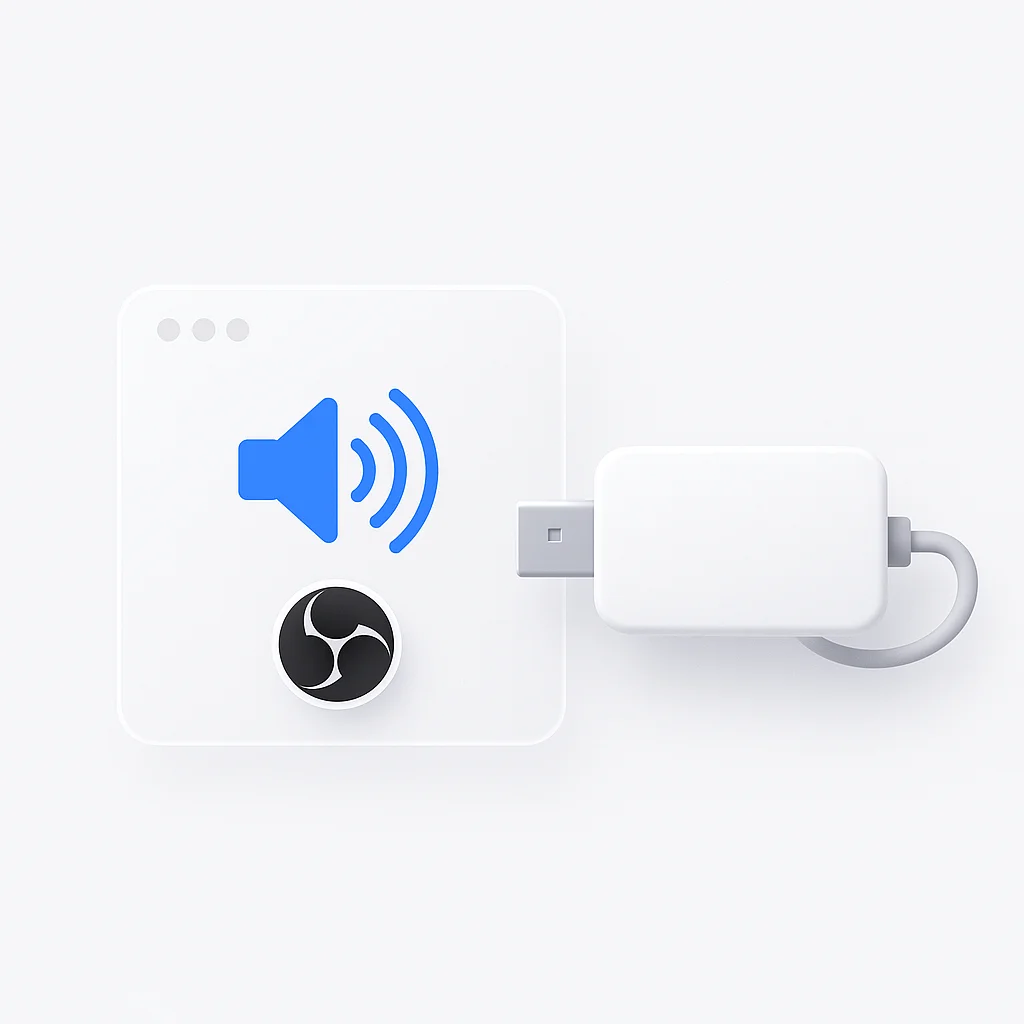
If you can’t hear your capture card audio in OBS, you’re not alone. It’s one of the most common frustrations for streamers. This guide gets straight to the point and shows you exactly how to fix it, whether you’re using an Elgato, AverMedia, or any other capture card.
What is a Capture Card?
A capture card is a device that captures video and audio from an external source (like a PlayStation 5, Xbox, or another PC) and sends it to your streaming computer. OBS (Open Broadcaster Software) then takes that signal and broadcasts it to platforms like Twitch or YouTube. For this to work, OBS needs to correctly identify and handle both the video and audio streams from the card.
📋 Initial Setup Checklist
Before diving into OBS settings, ensure your hardware is connected correctly:
- HDMI Connections: Your source device (e.g., PS5) should be connected to the HDMI IN port on your capture card. The HDMI OUT port should connect to your TV or monitor.
- USB Connection: The capture card must be connected to your streaming PC via a USB cable.
- Drivers: Make sure you have the latest drivers and software for your specific capture card installed from the manufacturer's website.
How to Add Capture Card Audio to OBS
There are two primary methods to get audio from your capture card into OBS. Start with Method 1, as it’s the cleanest approach.
Method 1: Add as an Audio Input Source
This method treats your capture card’s audio as a dedicated source, which is the standard and most reliable way to set it up.
-
Add Video Source: First, add your capture card’s video. In OBS, go to the “Sources” dock, click the
+icon, and select “Video Capture Device.” Name it something like “PS5 Capture” and select your capture card from the “Device” dropdown. Click “OK.” -
Add Audio Source: Go back to the “Sources” dock, click
+again, and this time select “Audio Input Capture.” -
Select Your Device: Name the source “Capture Card Audio.” In the “Device” dropdown menu, find and select your capture card. It might be listed by its name (e.g., “Game Capture HD60 S+”) or as a generic “Digital Audio Interface.”
-
Check the Mixer: You should now see “Capture Card Audio” as a new channel in your “Audio Mixer” dock. Play audio from your source device (e.g., navigate the console menu) and you should see the meter moving.
If you see activity in the audio meter but can’t hear it through your headphones, proceed to Method 2.
Method 2: Use OBS Audio Monitoring
This method is for when the audio is getting into OBS but isn’t being sent to your headphones or speakers for you to monitor.
-
Open Advanced Audio Properties: In the “Audio Mixer” dock, click the three-dot menu next to your “Capture Card Audio” source and select “Advanced Audio Properties.”
-
Set Audio Monitoring: Find your “Capture Card Audio” source in the list. In the “Audio Monitoring” column, click the dropdown menu and change it from “Monitor Off” to “Monitor and Output.”
- Monitor Off: The audio is sent to your stream, but not your headphones.
- Monitor Only (Mute Output): You can hear the audio, but your stream cannot.
- Monitor and Output: Both you and your stream can hear the audio.
-
Check Your Monitoring Device: Close the properties window. Go to File > Settings > Audio. Ensure your main desktop headphones or speakers are selected as the “Monitoring Device.” If it’s set to “Default,” make sure your Windows/macOS default audio device is correct.
You should now be able to hear the capture card audio.
How to Record Your Gameplay
Once your audio is perfectly configured, you might want to record your sessions for VODs or highlight reels. While OBS is great for streaming, using a dedicated tool can simplify the process. The ScreenApp screen recorder allows you to easily capture your gameplay sessions with high-quality video and synchronized audio, making it simple to create content for other platforms.
Troubleshooting Common Audio Issues
If you’re still having problems, here are some common issues and their solutions.
⚠️ No Audio at All
- Check the Source: Ensure your console or source PC is actually outputting audio over HDMI.
- Re-add the Source: Sometimes OBS can be buggy. Try removing the "Audio Input Capture" source and re-adding it.
- Restart OBS: Close and reopen OBS (preferably as an administrator on Windows).
⚠️ Audio is Crackling or Distorted
- Sample Rate Mismatch: Go to File > Settings > Audio. The global "Sample Rate" should be 48 kHz. Then, in the "Advanced Audio Properties," ensure your capture card source is also using the same sample rate if the option is available.
- USB Port: Try plugging the capture card into a different USB port on your PC, preferably a USB 3.0 port.
- Cable Quality: A faulty HDMI or USB cable can cause audio distortion. Try swapping them out.
⚠️ Audio is Out of Sync (Desync)
- Sync Offset: In the "Advanced Audio Properties," you can find a "Sync Offset" field. If your audio is ahead of your video, add a positive delay (e.g., 250ms). If it's behind, you may need to add a render delay to your video source, but start with the audio offset first.
Frequently Asked Questions (FAQ)
How do I get game audio on OBS with a capture card?
Follow Method 1 above. Add your capture card as an “Audio Input Capture” source in OBS. Then, use “Audio Monitoring” (Method 2) to hear it yourself.
Why is my Elgato audio not working in OBS?
For Elgato cards, ensure you have the “Game Capture HD” or “4K Capture Utility” software installed, as it often includes necessary drivers. Also, make sure no other application is using the card at the same time.
How do I add a capture card to OBS?
In the “Sources” dock, click + and choose “Video Capture Device.” Select your capture card from the device list. This will add the video, but you still need to add the audio separately using the “Audio Input Capture” source as described above.
Can I hear capture card audio on my PC while streaming?
Yes. This is what “Audio Monitoring” is for. In the Advanced Audio Properties for your capture card source, set it to “Monitor and Output.”
Conclusion
Getting capture card audio to work in OBS involves two key steps: adding it as an “Audio Input Capture” source and then enabling “Monitor and Output” in the Advanced Audio Properties. By following this guide, you should be able to resolve the most common audio issues and ensure your stream sounds professional and clear.