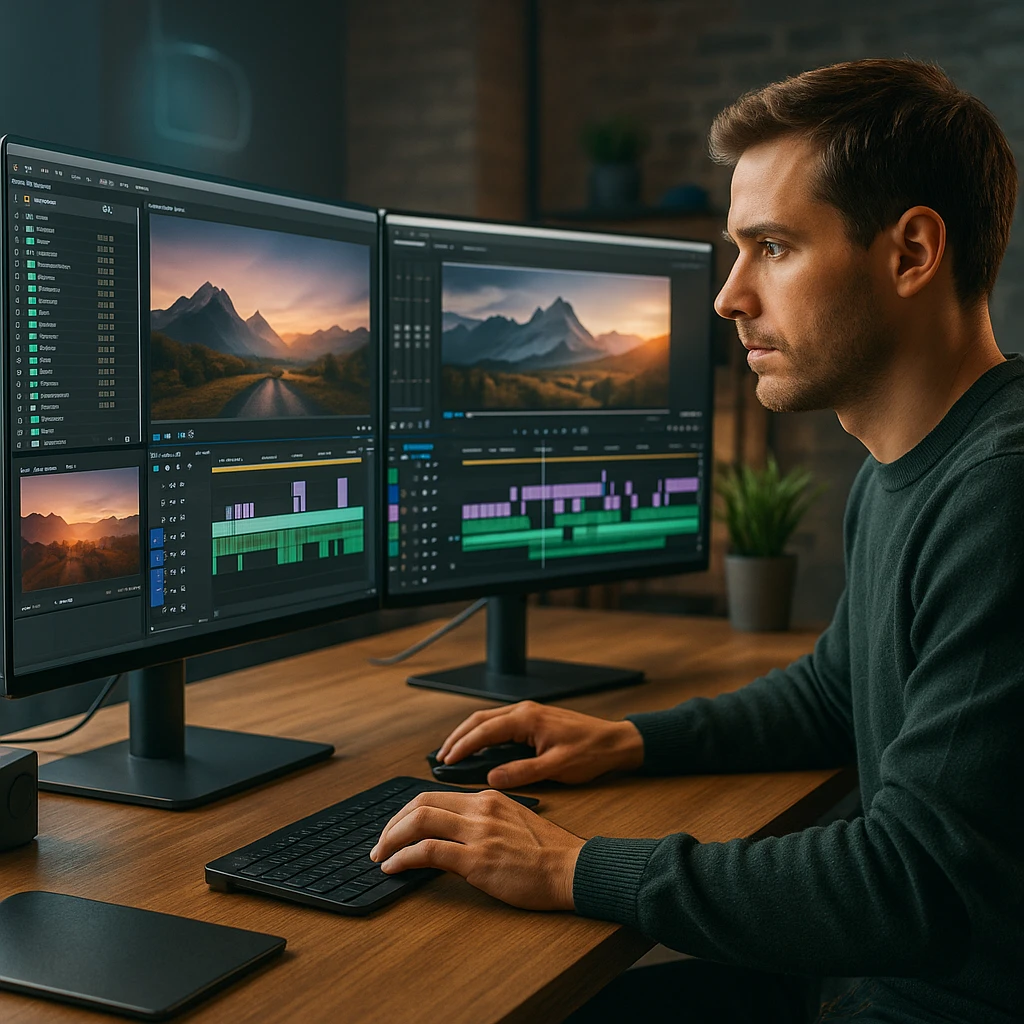
Video editing can be overwhelming—hours of footage, countless takes, and endless revisions. But with the right workflow, you can transform chaos into a streamlined, efficient process that delivers professional results consistently. In 2025, successful content creators are using these proven strategies to cut editing time by 50% while improving quality.
🎬 What You'll Learn in This Guide
Whether you’re editing YouTube content, corporate videos, or social media clips, these workflow tips will help you work smarter, not harder. Let’s dive into the strategies that professional editors use to maintain consistency and efficiency.
Quick Start: Choose Your Editing Path
🎬 Beginner
Start with basic organization and simple editing techniques using user-friendly software
⚡ Intermediate
Master keyboard shortcuts and implement the three-pass editing system
🛠️ Advanced
Optimize performance with proxy workflows and advanced automation
🏢 Professional
Implement team collaboration workflows and AI-powered editing features
Pre-Production: Setting Up for Success
The foundation of an efficient editing workflow begins long before you open your editing software. Proper pre-production planning can save hours during the editing phase.
Project Organization Framework
Create Consistent Folder Structure
Establish a standardized organization system for every project:
├── 01_Raw_Footage/
│ ├── Camera_A/
│ ├── Camera_B/
│ └── Audio/
├── 02_Assets/
│ ├── Graphics/
│ ├── Music/
│ └── Sound_Effects/
├── 03_Exports/
│ ├── Rough_Cuts/
│ ├── Final_Versions/
│ └── Social_Media/
└── 04_Project_Files/
├── Premiere_Pro/
├── After_Effects/
└── DaVinci_Resolve/
Shot Logging and Metadata
Before editing, create a comprehensive shot log that includes:
- Shot number and description for easy identification
- Timecode in and out for precise editing
- Quality rating (1-5 stars) to mark best takes
- Notes on content and technical issues for reference
- Best takes marked for easy identification
The Three-Pass Editing System

Professional editors use a systematic approach to avoid getting lost in the details too early. Here’s the proven three-pass system:
Time Allocation: 20% of total editing time
✅ What to Do
- Import all footage and organize by scene
- Create a basic timeline with the best takes
- Focus on content and flow, not technical perfection
- Establish the overall story structure
❌ What NOT to Do
- Spend time on precise cuts
- Add effects or transitions
- Color correct individual clips
- Mix audio levels
Time Allocation: 60% of total editing time
✅ What to Do
- Fine-tune cuts and timing
- Add transitions and basic effects
- Begin color correction
- Start audio mixing
- Add graphics and titles
❌ What NOT to Do
- Make major structural changes
- Perfect every detail
- Add final music or sound effects
- Focus on technical perfection
Time Allocation: 20% of total editing time
✅ What to Do
- Final color grading
- Complete audio mixing and mastering
- Add final music and sound effects
- Export and test on different devices
❌ What NOT to Do
- Make structural changes
- Add new content
- Change the overall story
- Rush the final quality check
Speed Editing Techniques
Essential Keyboard Shortcuts
🎬 Adobe Premiere Pro
- Q - Ripple edit tool
- W - Rolling edit tool
- E - Extend edit
- R - Rate stretch tool
- C - Razor tool
- JKL - Playback control
🎨 DaVinci Resolve
- B - Blade tool
- A - Selection tool
- T - Trim tool
- F - Trim to playhead
- Z - Zoom tool
- JKL - Playback control
⚡ Speed Workflow Tips
- Use JKL navigation for quick playback control
- Mark in/out points with I and O keys
- Drag clips directly to timeline for faster assembly
- Batch operations for multiple clips
Proxy Workflow for Large Projects
Create Proxies During Import
Generate lower resolution versions of your footage for smooth editing performance.
Edit with Proxies
Work with proxy files for smooth playback and responsive editing experience.
Switch to Original Media
Use original high-resolution footage for final export and color grading.
Smart Rendering
Only render changed sections to save time and processing power.
Quality Optimization Strategies
Color Grading Workflow
- Fix exposure and white balance
- Ensure proper contrast and saturation
- Correct any color casts
- Match shots within scenes
- Apply your creative look
- Match shots within scenes
- Create visual consistency
- Establish mood and atmosphere
- Add film grain or texture if desired
- Ensure broadcast-safe levels
- Test on different displays
- Final quality check
Audio Mixing Best Practices
| Audio Element | Target Level | Purpose | Processing |
|---|---|---|---|
| Dialogue | -12dB to -6dB | Clearest and most important | Noise reduction, compression |
| Music | -20dB to -16dB | Supporting, not competing | EQ, side-chain compression |
| Sound Effects | -18dB to -12dB | Enhance, don't distract | Reverb, EQ |
| Ambient Sound | -24dB to -20dB | Subtle background | Low-pass filter |
Workflow Automation and Integration

Automated Transcription and Subtitles
Upload Your Video
Use AI-powered transcription services to automatically generate accurate transcripts with timestamps.
Generate Captions
Create captions in multiple formats (SRT, VTT) for different platforms and accessibility needs.
Integrate into Timeline
Import captions directly into your editing timeline for precise synchronization.
🤖 AI Integration Tip
For meeting content, consider using AI meeting assistants to automatically transcribe and summarize your recordings before editing.
Common Workflow Mistakes to Avoid
✅ Best Practices
- Focus on the big picture first, details later
- Establish and stick to consistent organization systems
- Use proxy workflows for high-resolution footage
- Always log footage and plan your edit structure
- Build and maintain a library of templates and presets
❌ Common Mistakes
- Spending too much time on minor details early
- Disorganized projects that slow down workflow
- Working with high-resolution footage on underpowered systems
- Jumping into editing without proper planning
- Recreating the same elements for every project
Performance Optimization
Hardware Considerations
💻 Minimum Requirements
- CPU: Multi-core processor (8+ cores recommended)
- RAM: 16GB minimum, 32GB+ for 4K projects
- Storage: Fast SSD for project files and cache
- GPU: Dedicated graphics card for acceleration
⚡ Optimization Tips
- Use separate drives for media and cache
- Regularly clean cache and temporary files
- Close unnecessary applications while editing
- Update drivers and software regularly
Frequently Asked Questions
Common Questions About Video Editing Workflows
Getting Started: Your Action Plan
Week 1: Foundation
- Set up your project organization system
- Create template projects and presets
- Learn essential keyboard shortcuts
- Establish your three-pass editing workflow
Week 2: Optimization
- Implement proxy workflows for large projects
- Set up automated backup systems
- Create your first batch processing scripts
- Optimize your hardware and software settings
Week 3: Integration
- Connect with transcription and subtitle services
- Set up collaboration tools for team projects
- Create client review workflows
- Establish quality control checklists
Week 4: Advanced Features
- Master multi-camera editing techniques
- Learn advanced color grading workflows
- Implement motion graphics integration
- Explore AI-powered editing features
Conclusion: Building Your Perfect Workflow
The key to successful video editing isn’t just about having the right tools—it’s about having the right workflow. By implementing these strategies, you’ll create a system that’s efficient, consistent, and scalable.
🎬 Ready to Transform Your Editing?
Start implementing these workflow tips today and watch your editing efficiency soar.
Remember that every editor’s workflow is unique. Start with these foundational principles, then adapt and refine them to fit your specific needs and style. The goal is to create a system that works for you and your team, allowing you to focus on creativity rather than technical logistics.
Whether you’re editing YouTube content, corporate videos, or feature films, these workflow tips will help you work more efficiently and produce better results. Start with one improvement at a time, and gradually build your perfect editing workflow.
The future of video editing is here, and it’s all about working smarter, not harder.
Looking for more video production insights? Explore our guides on AI video summarization and meeting recording workflows to enhance your content creation process.


